


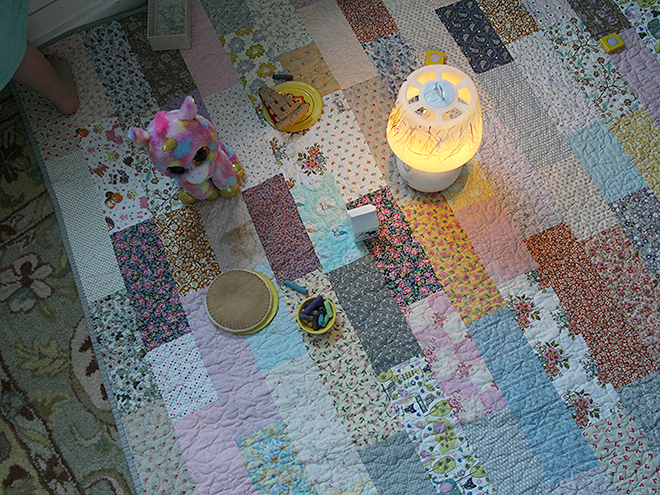
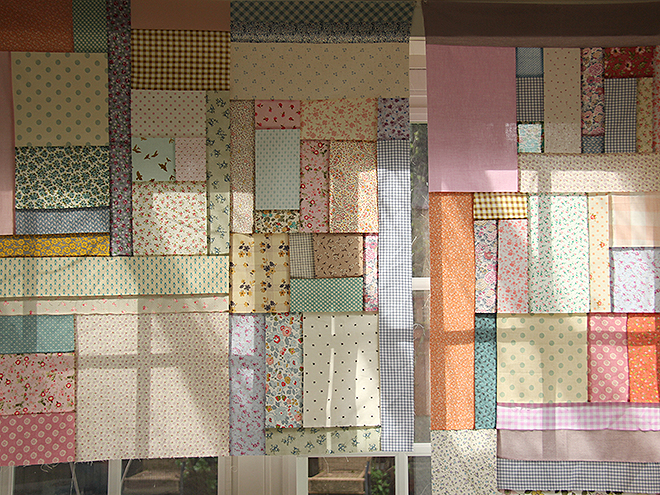
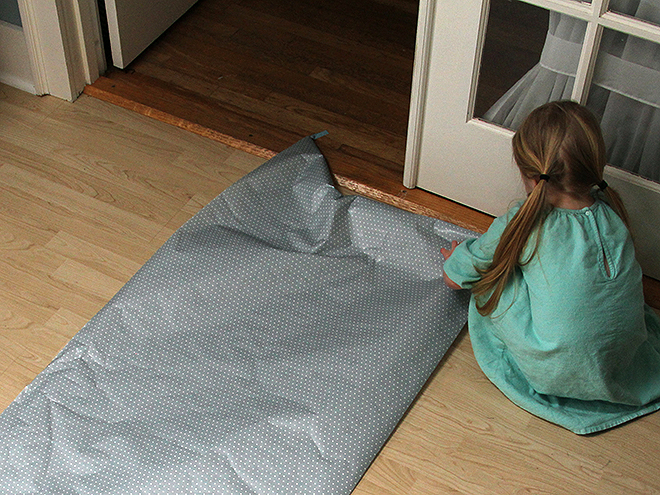
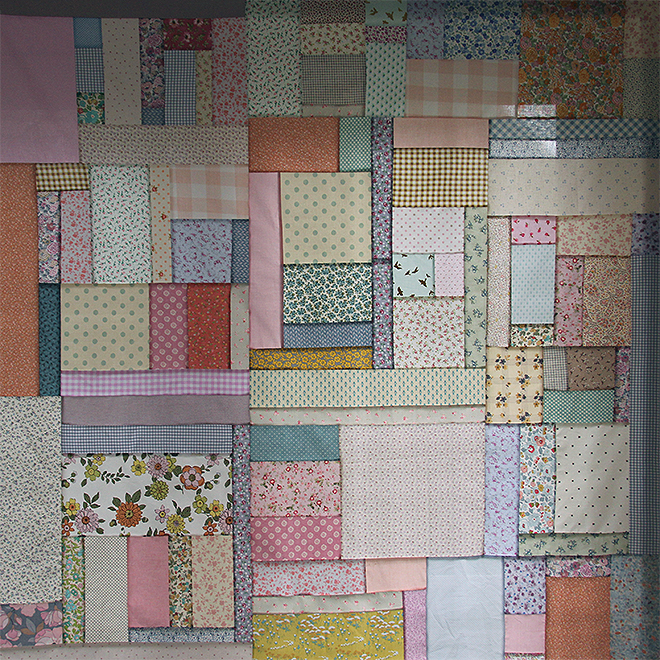
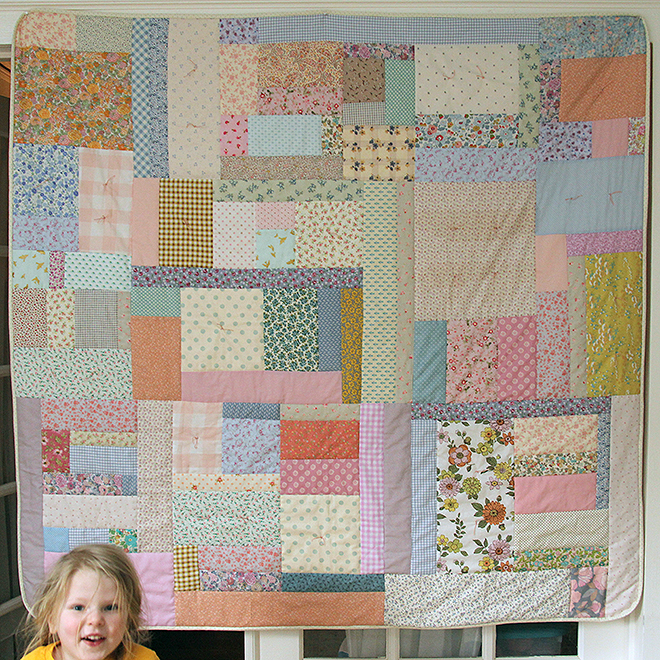
I just finished the quilt! I'm really happy! It's in the wash right now. I can't wait to see it after it's been washed and dried. I backed it with pale mauve-pink double gauze, soft as a cloud. I used cotton-wool-blend batting (I think it was Hobbs). I used a cream-colored fabric with tiny turquoise dots for the binding. I did the binding completely by machine: I used 2 1/4" cross-grain strips, folded in half lengthwise and applied to the front of the quilt sandwich with a 1/4" seam. I wrapped it around to the back and made sure it just covered the seam on from the back, and pinned it perfectly in the ditch, just catching the back edge. I pinned a lot. Then I stitched in the ditch all the way around, catching the back edge, and it worked perfectly. You have to go slowly, and you have to pin a lot, and you have to remember to look at the front edge of your presser foot as you stitch in the ditch — don't watch the needle, watch the groove in the front of the presser foot and make sure it's centered perfectly over the ditch. My stitches were almost imperceptible. The back edge was just barely caught and looked great. I always do my binding by hand on the back, but honestly, this looked so good and saved soooooo much time, and so many hand stitches, I don't know that I'll ever do it by hand again! Well, maybe I will, but not in the near future. This looked really nice. The trick is the pinning exactly in the ditch. If you've pinned in the ditch, and you've caught the back edge, you will catch it when you stitch. Just take your time.
To quilt it, I decided I really wanted it to be as soft and light as possible. I was thinking of tying the whole thing, but again I just didn't want to take the time, as the big-girl bed has been purchased and just needs to be put together. Tying this would've taken too long and I'm just getting more picky about what I want to put my hands through these days — tying is pretty hard on your fingers. So, proud of my ditch-stitching on the binding (and yeah, I bound the edges first; the double-gauze felt a little shreddy and I thought it would be best to get the edges completely enclosed before I started handling it too much), I decided to quilt it by machine-stitching in the ditch around every patch. I just started on one edge and tried to follow it as far as I could. This required pushing a whole bunch of the quilt under the arm several times, so I don't know how this would work on a regular machine on anything bigger than a throw (this quilt measures 55" x 57", and yes, this was a fairly random measurement on my part; I basically just wanted something that would work right now on that little bed, and I didn't want it to be too big that she couldn't curl up under it easily on the sofa after it's too small for the bed; conveniently this just fit on a packaged throw-size batting [60" x 60"], but that was sheer luck, because naturally I don't think about any of these rational things beforehand, good grief) but it worked out just fine on my machine. Anyway, I just kept stitching seams, backstitching a bit when I would hit a dead end, and then starting over. The batting package said I had to stitch it at most 4" apart, which is pretty tight. On the bigger patches I added a few ties.
I daresay I've never enjoyed making anything more! A lady at Fabric Depot once said to me that the best quilts are fast, fun, and finished, and this one certainly was that. I'll be hard-pressed to ever do a quilt another way, honestly!
I'll take more close-up pictures once we get the bed set up. That's going to require the whole room being rearranged so it may not be until next week.
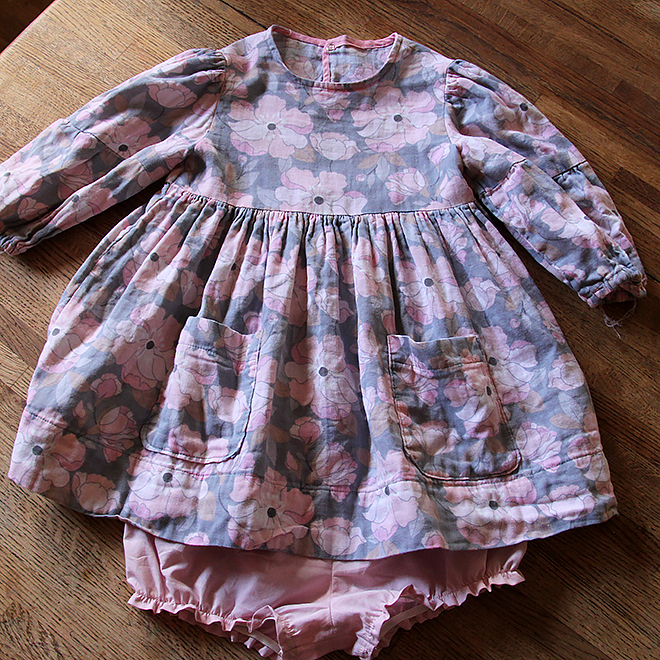
***Oh, oh — and for those who have asked, some details about my crocheted blanket (also for Meems's new bed) are here (and I think that stitch is called the harlequin stitch, maybe?), and the bloomers pattern I used was Style pattern #3206 from 1980.