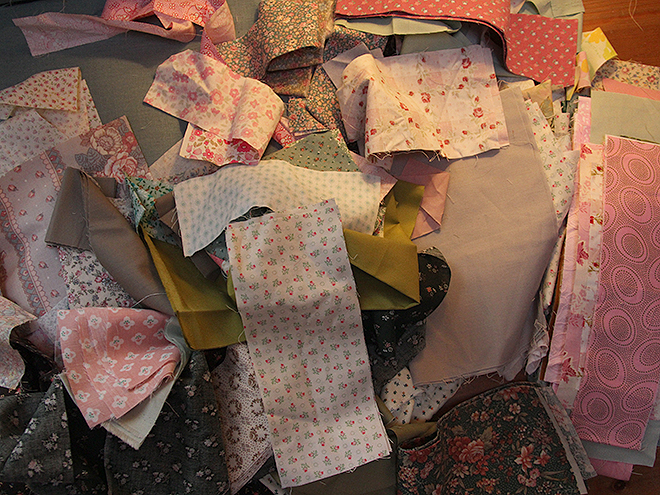
I loved reading all the comments on the Fluff Pouf post. Thank you! A few people did have questions about how to do the back and finish the quilt so I took some pictures last week of the green and pink quilt and thought I'd walk you through the process with me. It was really dark the day I took these photos so they're a bit dark and grainy (and I know, the hot tub in the background really adds to the effect) but hopefully you can see the things I'll be pointing out. Above is the big pile of scraps I start with when making the quilt top. I put the pile next to my sewing machine and just paw through it while looking for the next piece I want to sew.
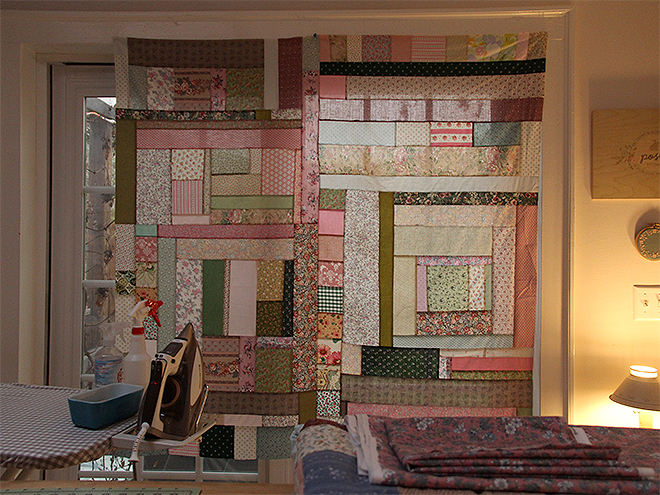
Here is the finished quilt top, waiting for its back.
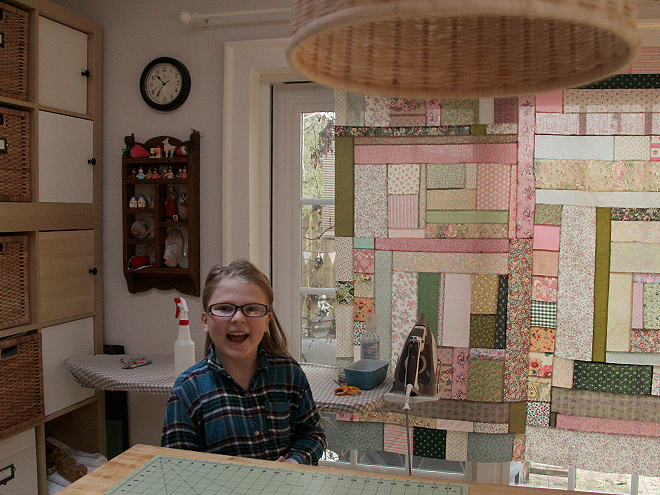
Here's an adorable child who loves to iron her own little pile of scraps. <3 <3 <3
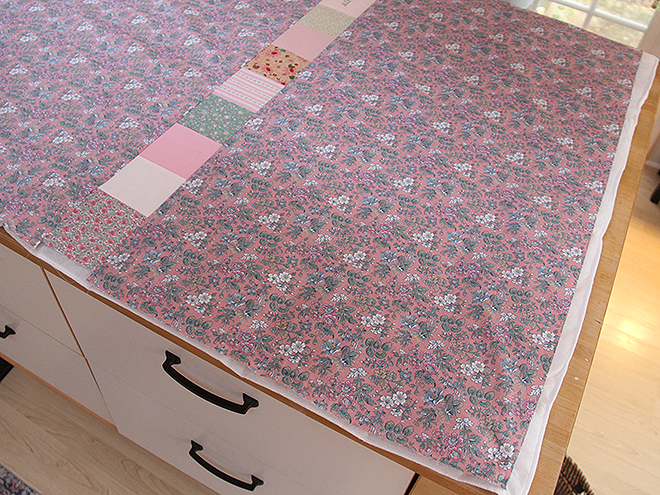
I measure the top of the quilt and then piece together a back that's just a few inches bigger on every side than the top. You don't have to go crazy and make it extra, extra big. I have been putting a strip of scraps from the same fabrics as the front and which includes a little cross-stitched patch (done on cross-stitch linen) that has my initials and the year. When I have that all together, I lay the Ikea comforter down first, lining up one of the corners with the corner of my table and letting the rest of it hang over the back. Then I put the backing down, right side up, lining up a long edge very close to one of the long edges of the comforter. We'll get to why in a minute.
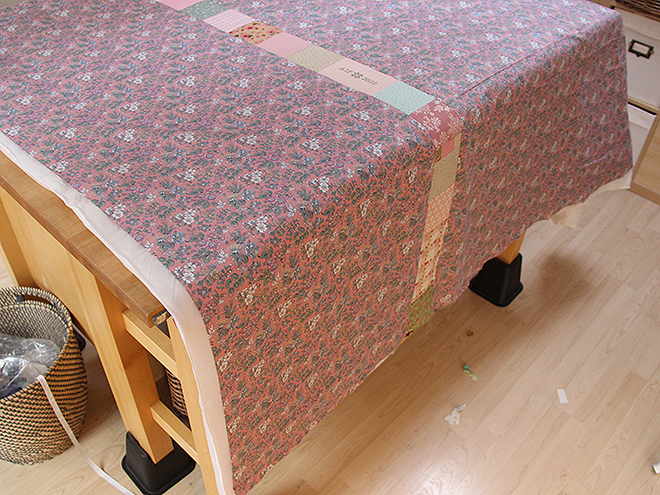
Here is the comforter and the back hanging over the back edge of the table.
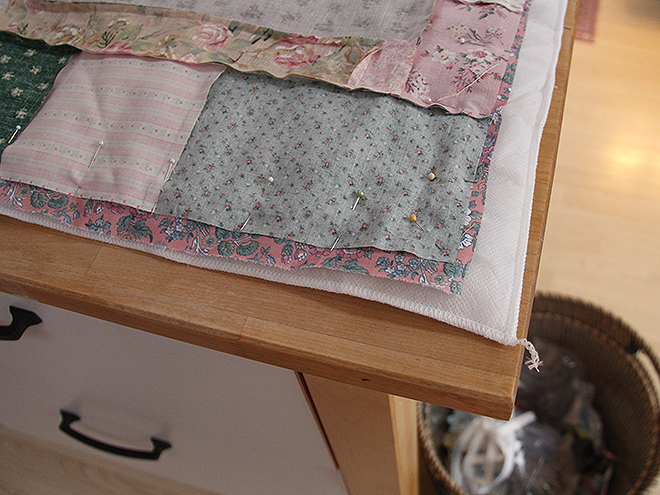
Now I lay the quilt top right-side-down on top of the back.
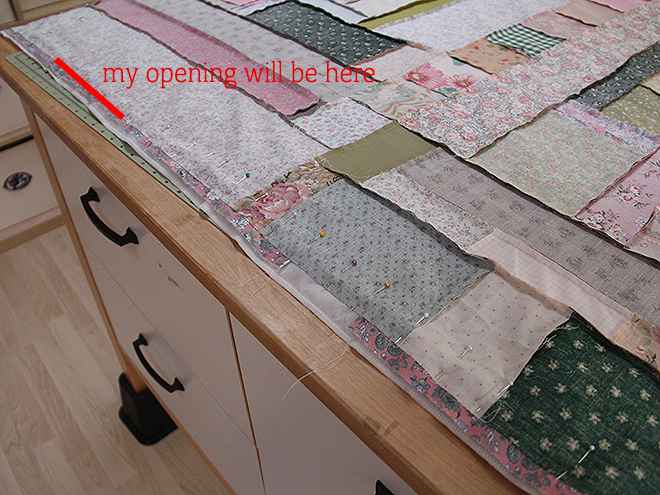
If you want to have it oriented a certain way relative to the back -- if you have a definite top edge and bottom edge to your quilt top that you want to have oriented to the label patch on the back, or the patched strip, for instance -- you need to think this part through a bit, and make sure it's turned in the right direction. What's going to happen is that you will sew around all four sides through all three layers, leaving an 8"-10" opening through which you will "turn" the quilt. You want this opening to be on one of the edges of the quilt (not at a corner). I usually situate it toward the bottom (if there is one), on a "long" patch where I won't encounter any seams. See my red line above for where I plan to leave the opening on this one.
Now, this applies specifically to using the Myskgras comforter as batting: When you cut this batting, you will see that it is literally just fluff between two layers of very thin polyester webbing that they've "quilted" with straight lines in a grid maybe a foot apart. You do not really want to cut this "batting" to trim it before you've sewn around all of the edges to secure all of those layers together. Because I will have to leave an opening to turn the quilt, I situate the opening very close to a finished edge of the comforter, and you'll see -- I won't cut off the serging at that edge just where the opening is, because once I turn the quilt right-side out, I'm going to fold that edge in, along with the backing and the top, and then machine-stitch (through all three layers) that opening closed. Keep that serging intact right there so that the fluff doesn't just plouf out all over the place. We'll talk about this more in a minute. . . .
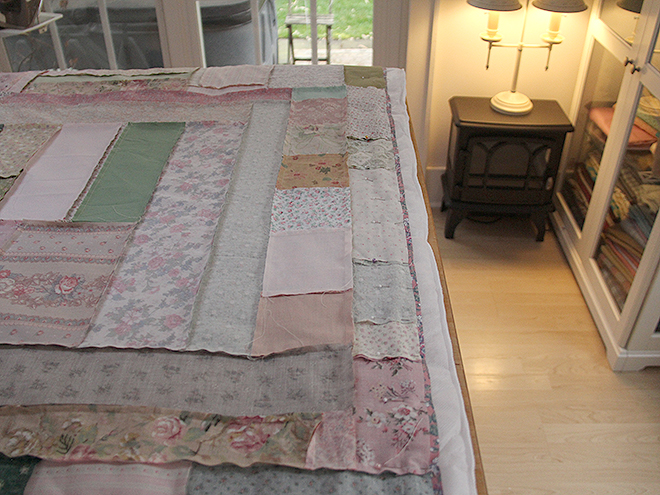
Because first you're going to pin all the way around the edges of the top. I use straight pins, and I pin every couple of inches.
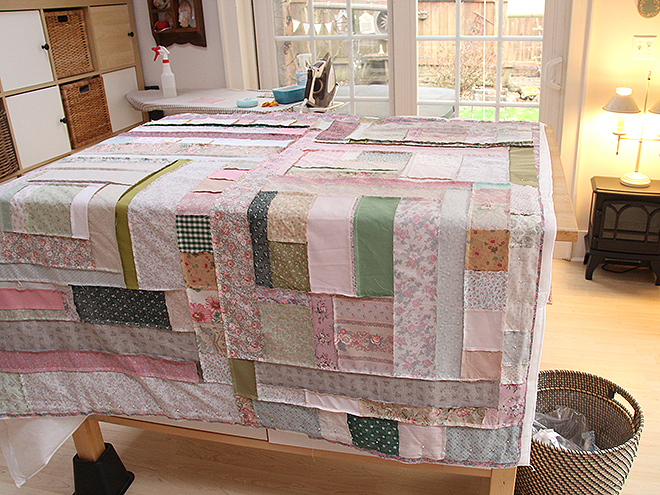
When the first half is pinned, I let it hang over the table and do the other side. Then I drag the whole thing over to my machine. Straight pins can be a bit tricky when you're doing this, I will admit. But they are easier for me to manage than safety pins. And when I stitch all of this together, the batting is so poufy that the pins kind of sink into it, and honestly, it works for me to stitch right over the pins and take them out afterward. That may not work for you. I mean, generally, you really don't want to sew over pins with your machine -- it can be super dangerous to do that. But when there's so much bulk as there is here with this batting, the pins just sink right in. I use a walking foot on my machine and I have no problem with the fabric shifting. Leave the opening open and backstitch on either side of it.
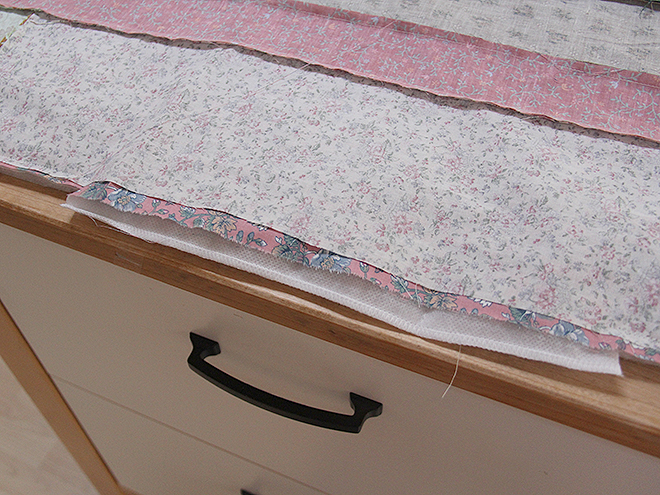
After everything but the opening is stitched, I trim the extra batting off. I usually leave a bit of extra backing and batting in the seam allowance -- I probably trim those with about a 1/2" extra all the way around, just for insurance. I trim the batting at the opening as you can see in the photo -- leave the serging intact at that opening edge. Once you turn the quilt, you're going to tuck all of that in and stitch the opening closed through all layers.
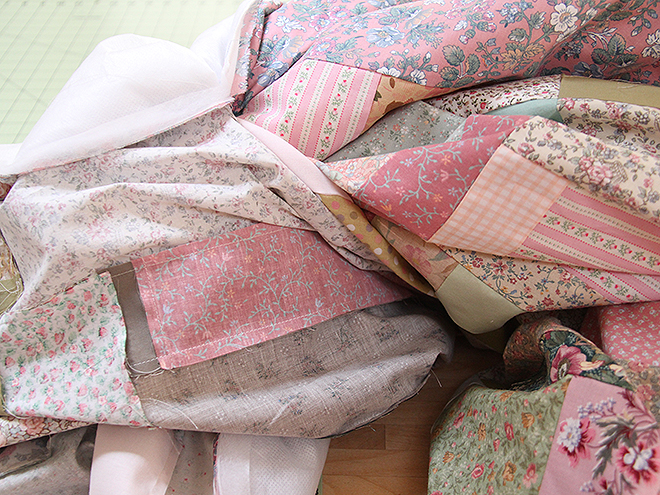
Here's the quilt, mid-turning. You're going to pull everything through the opening and then get it all smoothed out. Poke your corners out gently. I do not trim the triangles off of the corners. Don't trim them. It's fine. Just turn everything right-side out.
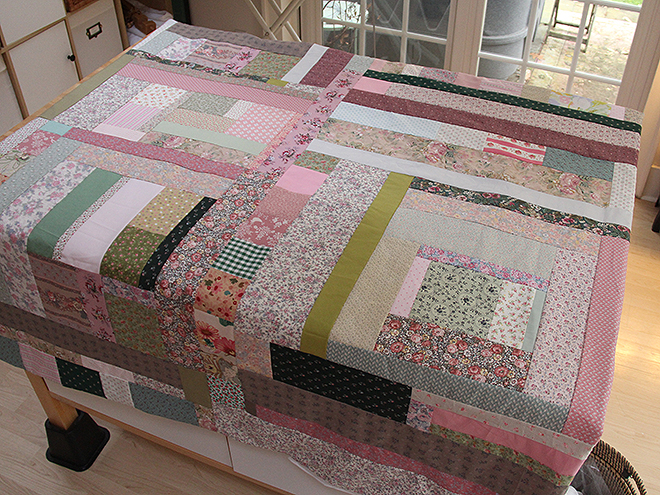
And here it is, just waiting for the opening to be stitched, which apparently I didn't take a picture of. But you get the gist, I think! I guess I should do a tying tutorial now, eh?